Here, we are going to install Unity container in Visual Studio using NuGet.
First, we need to create a project in order to use Unity. It can be any type of project such as a class library, a console, a web, windows or any other C# or VB.NET project. We will create a Console Application to demo Unity container. So, click on New Project from the Start page of Visual Studio. It will open the New Project popup as below.
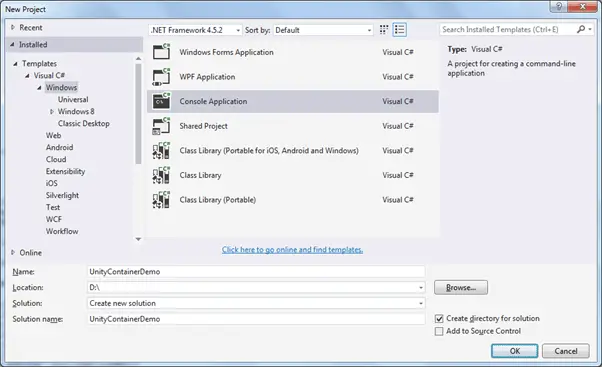
Enter a Name for the project and a location and click OK. This will create a new console application project.
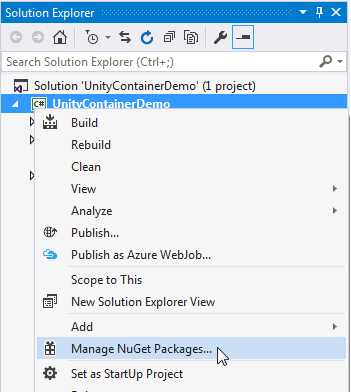
Now, we need to install Unity in this project to be able to use dependency injection in the project. So, right click on the project node in the solution explorer and select Manage NuGet Packages, as shown below.
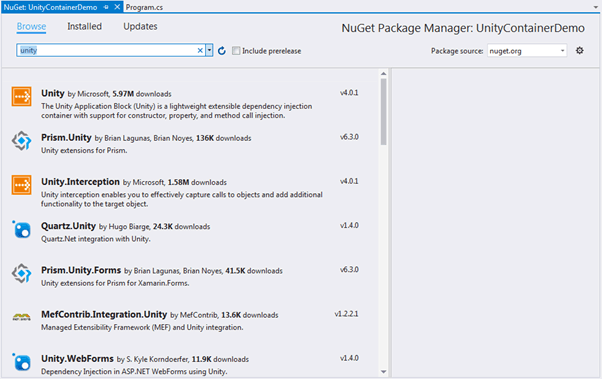
Now, we can search for Unity from the browse tab of NuGet. Enter "unity" in the search box and it will list all the libraries or plugins which contain the "unity" word, as shown below.
Now, click on the Install button in the right pane, as shown below.
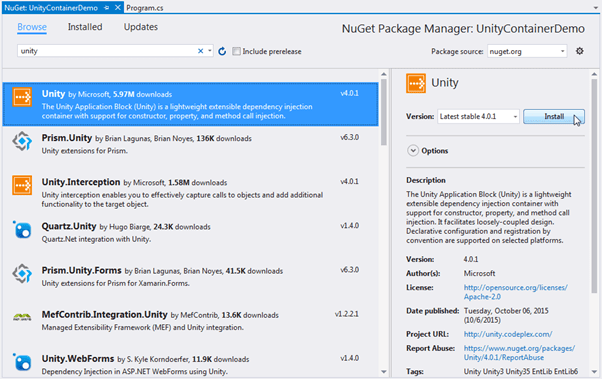
This will add all the references of Unity into your project as shown below.

Now, we are ready to use Unity to implement automatic dependency injection in our project.

No comments:
Post a Comment