Early last year, Microsoft announced a new experimental project from the ASP.NET team called Blazor. Blazor is an experimental web UI SPA framework based on C#, Razor, and HTML that runs in the browser via WebAssembly without JavaScript.
Yes, you heard that right – without JavaScript! That being said, around April 2019, Blazor was officially releasedas a Preview. This means that Blazor is no longer experimental and will probably be officially released after .NET Core 3.0.
Prior to this article, I’d been exploring Blazor a bit since it was still an experimental release, and I personally find the framework very interesting.
I think Blazor is going to be a hit and that's because I see WebAssembly as actually superseding JavaScript. Sure, JavaScript and its frameworks aren't going anywhere, but why would you teach a new programmer JavaScript when you can just teach them C#, Python, etc. and have them work with simpler tools in a more performant environment?
Setup the Development Environment
Let’s go ahead and install the required tools and SDKs needed for building the Blazor app. If you already have installed the tools mentioned in the list below, then you may skip this step but just make sure you update them to the latest version as possible.
Prerequisites
- Visual Studio 2019 Preview (16.2 Preview 2 or later) with the ASP.NET Core Web Development workload)
- .NET Core 3 Preview (dotnet-sdk-3.0.100-preview6-012264-win-x64)
- The latest Blazor extension (Microsoft.VisualStudio.BlazorExtension.16.0.19307.2)
Framework and Tools Installed
The following frameworks and tools are automatically installed after installing the .NET Core 3.0 Preview and Blazor bits:
- Microsoft Visual Studio Professional 2019 Preview (Version 16.2.0 Preview 2.0)
- Microsoft .NET Core (Version 3.0.0-preview6-27804-01)
- NET Core Blazor Language Services (Version 16.0.19307.2)
- NET and Web Tools 2019 (Version 16.2.159.22830)
- NET Web Framework and Tools 2019 (Version 16.2.159.22830)
Once you have successfully installed the prerequisites above, then let’s go ahead and start the adventure!
Setup Azure Active Directory
The very first thing that we need to set up here is an Active Directory hosted in Azure for us to test the user authentication in our application later. If you have an Azure AD already set up by your company or admin, then you may skip this section and jump directly to the next step. In summary, what you will need to set up to enable Azure AD Authentication are the following parameters:
- Domain Name
- Tenant ID
- Client ID
Now, if you want to explore Azure AD by yourself and get a feel on how to set up a simple Active Directory in Azure, then let’s move on. 😊
Login through the Azure portal here: https://azure.microsoft.com/en-us/
After logging in, click on the Portal link located at the upper right corner of the website as shown in the figure below.

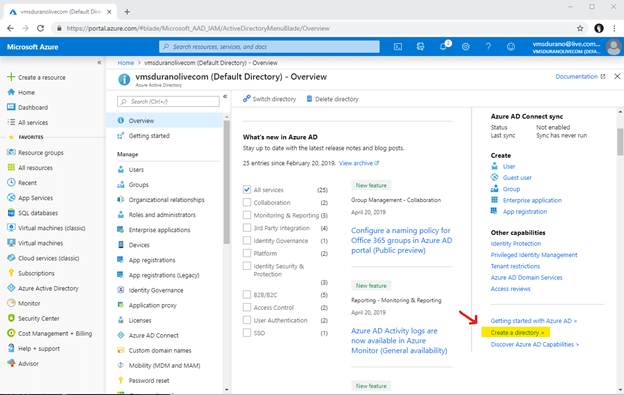
When you’re in the Azure Portal, click on the Azure Active Directory link as shown in the figure below.

On the next screen, click on "Create a Directory" link.
Now, enter a unique Organization and Domain name for your directory. In this example, I have used the following values.
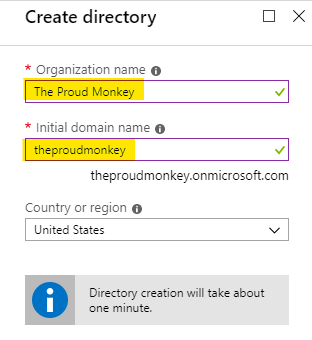
Please keep a note of the domain name as you will be using it when setting up the authentication in the application.
When you are satisfied with the values provided, just click the Create button to set up the directory for you. Normally, the setup will take about just one minute. Sometimes you may have to wait a bit as it could take a few minutes to complete the setup depending on your internet speed.
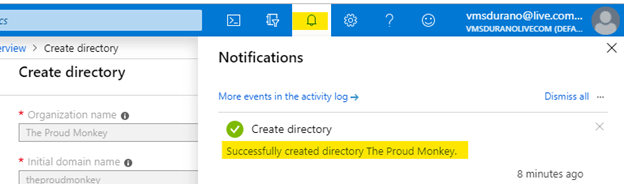
When it’s done, a notification should be displayed in the portal, as shown in the figure below.
Create a New User
Next, we are going to create a couple of test users within the directory that we have just created.
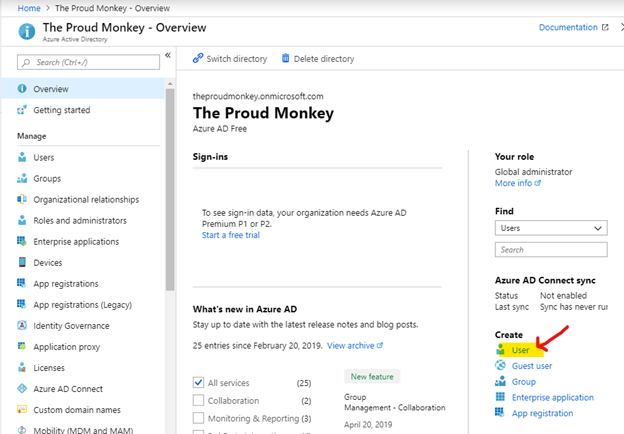
Now, click on the link that says “Click here to Manage your Active Directory” or just click on the “Azure Active Directory” link. It should take you the Active Directory Domain that we have just created.
Click on the User link.
Let us create a few test users by entering the names and their email addresses or usernames as shown in the figure below.
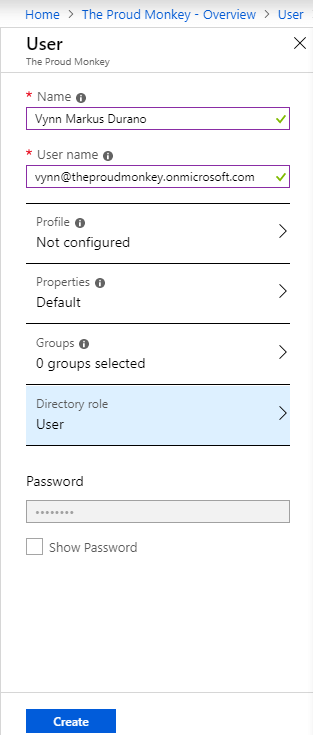
You can create a few users or more but for this exercise, I’m just going to create two users:
- User
- Admin
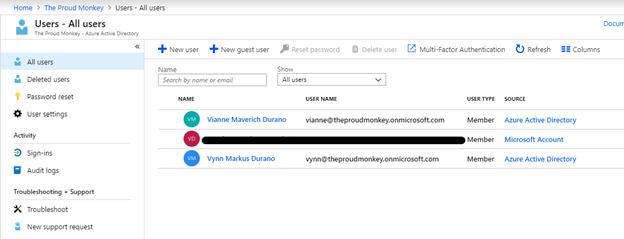
With these two users configured, we would be able to test the app with normal users and admin roles in a later part of the series. You can see the list of all users that you have created by navigating through the “All Users” link as shown in the figure below,
Server-Side Blazor Authentication with Azure AD
In this exercise, we will explore Azure AD authentication. Let’s take a look at how we can do this with Blazor.
Mid of 2019, Microsoft shipped ASP.NET Core 3.0 Preview 6, with the red-hot Blazor project getting built-in support for handling authentication and authorization, among other updates. Microsoft said "The server-side Blazor template now supports options for enabling all of the standard authentication configurations using ASP.NET Core Identity, Azure AD, and Azure AD B2C. We haven't updated the Blazor WebAssembly templates to support these options yet, but we plan to do so after .NET Core 3.0 has shipped." For more details on this release, see: ASP.NET Core and Blazor updates in .NET Core 3.0 Preview
This simply means for us .NET developers that Authentication and Authorization can now be easily integrated into our Blazor apps with any configuration types you want. So without further ado, let’s try out Azure AD authentication in Blazor.
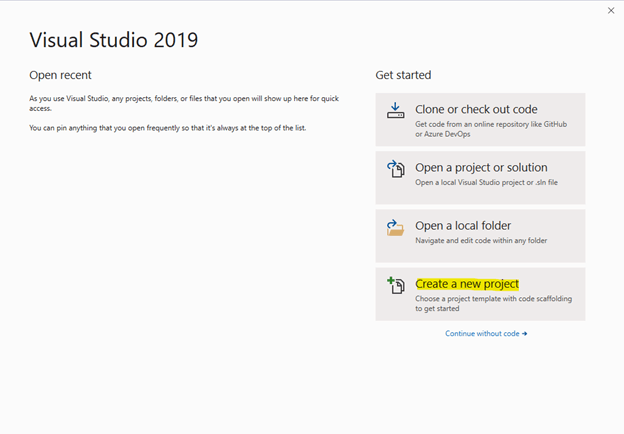
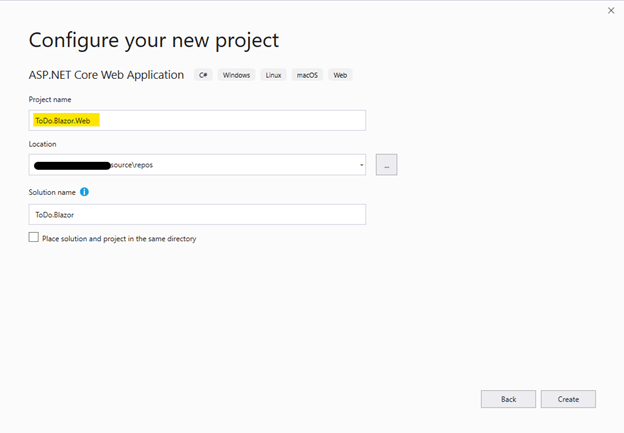
Fire-up Visual Studio 2019 Preview and then create a new project just like in the figure below,
Select ASP.NET Core Web Application workload just like in the figure below and click Next.
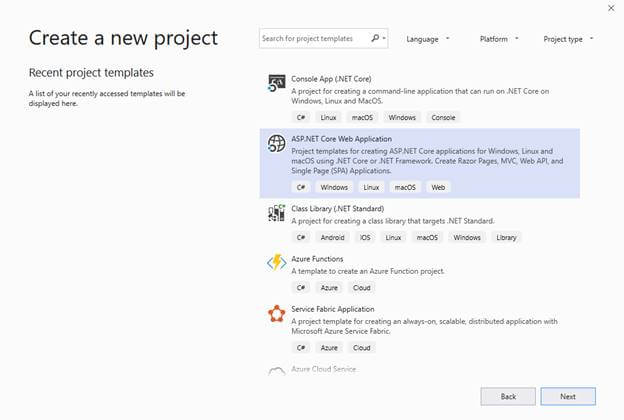
Set a name for your project to whatever you want and then click "Create".
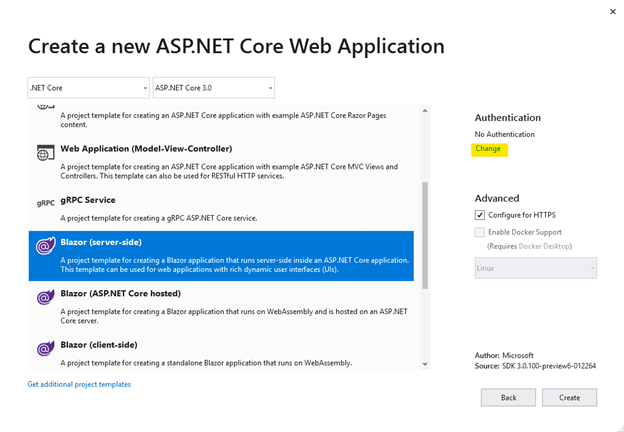
Select Blazor (server-side) template from the list as shown in the figure below and then click the "Change" link under Authentication.
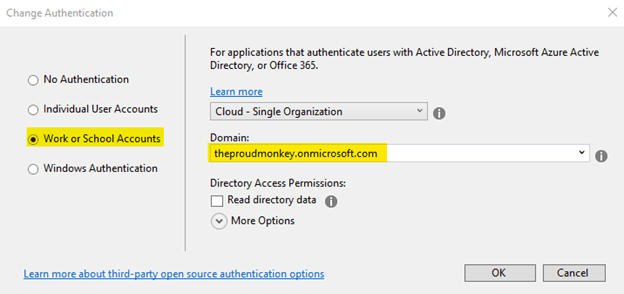
Select Work or School Accounts and then supply the Domain name that you configured from Azure portal,
Once you’ve finished setting up the authentication, click the Create button to let Visual Studio scaffold the necessary files for you. When successful, you should be able to see something like this,
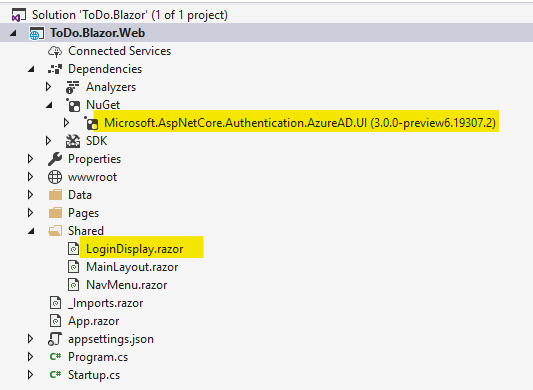
You will see the “Microsoft.AspNetCore.Authentication.AzureAD.UI” NuGet package added as a project dependency. This package provides components for integrating Azure Active Directory authentication within our ASP.NET Core app easily.
The LoginDisplay.razor page is also created for us and contains the following Blazor markup:
- <AuthorizeView>
- <Authorized>
- Hello, @context.User.Identity.Name!
- <a href="AzureAD/Account/SignOut">Log out</a>
- </Authorized>
- <NotAuthorized>
- <a href="AzureAD/Account/SignIn">Log in</a>
- </NotAuthorized>
- </AuthorizeView>
The markup above uses the Blazor AuthorizeView component that displays the UI depending on whether the user is authenticated and authorized to see the page or not. The component exposes a context variable of type AuthenticationState (@context.User.Identity.Name), which you can use to access information about the signed-in user.
Now, in the appsettings.json file, you will also find the following configuration generated.
- "AzureAd": {
- "Instance": "https://login.microsoftonline.com/",
- "Domain": "theproudmonkey.onmicrosoft.com",
- "TenantId": "123XXXXX-12XX-12XX-12XX-123456XXXXXX",
- "ClientId": "123XXXXX-12XX-12XX-12XX-123456XXXXXX"
- },
The JSON configuration above defines our Azure AD configuration. Please note that you must change the value of TenantId and ClientId with the actual values you have. This configuration will be called at ConfigureServices() method in Startup.cs file which gets called at runtime:
- public void ConfigureServices(IServiceCollection services)
- {
- services.AddAuthentication(AzureADDefaults.BearerAuthenticationScheme)
- .AddAzureADBearer(options => Configuration.Bind("AzureAd", options));
- services.AddControllers();
- }
The code above adds the authentication service middleware using AzureADDefaults.BearerAuthenticationScheme which is the default scheme for Azure AD bearer. It then calls the AddAzureADBearer() method and binds the “AzureAd” configurations from the appsettings.json file.
Behind the scenes, Visual Studio automatically registers our ASP.NET Core app in Azure AD App Registration. You can verify this by navigating back to the Azure Portal > Azure Active Directory > App Registrations,

First Run
To use Azure Active Directory for logging users in, the application should run using SSL (https). By the default, the project is configured with SSL so there’s no need for us to configure it.
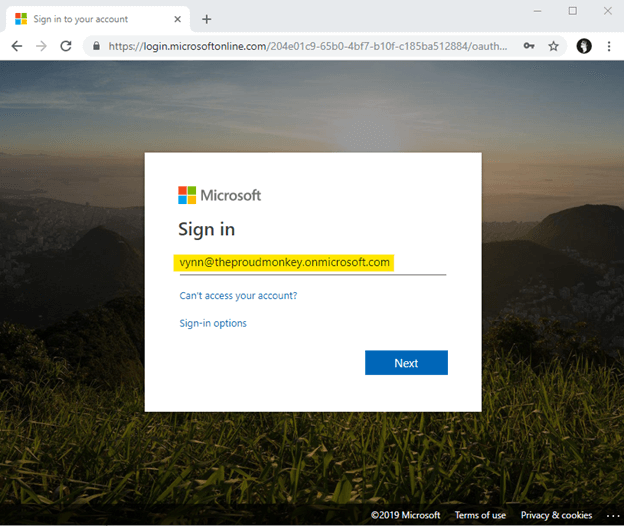
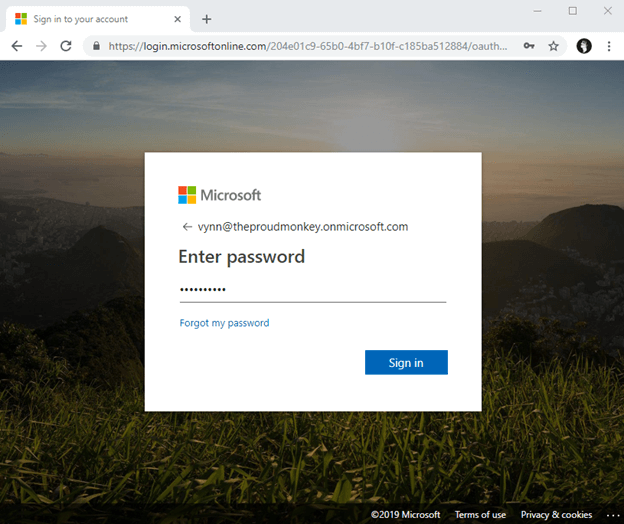
Now to ensure that our application is working with Azure AD authentication, let’s test it. Build the application then run the application by hitting CTRL + F5 keys.
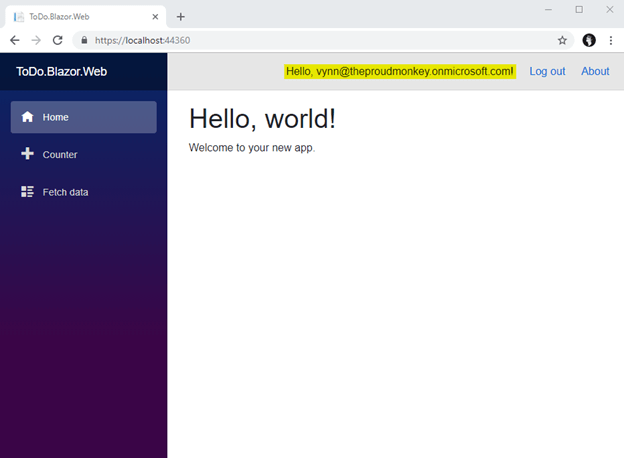
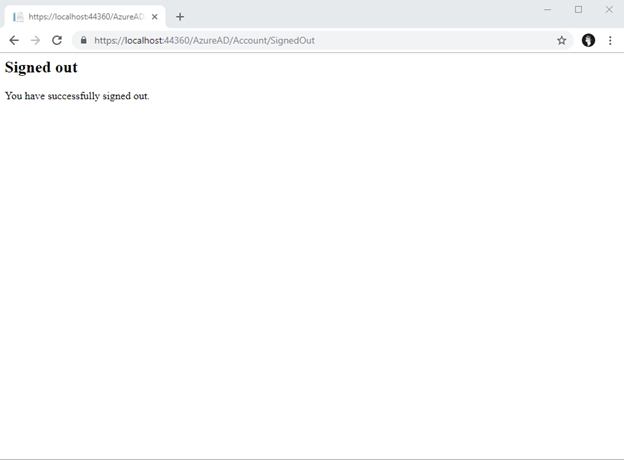
Clicking the Logout link will produce the following output.
That’s it! With just a few clicks, we now have a Blazor app up and running with Azure AD authentication. Visual Studio does all the job by connecting the pieces together behind the scenes for enabling authentication without doing any much coding on our side. That’s sweet!

No comments:
Post a Comment